Street Secrets of the E-P1 and E-P2
An all-semi-manual approach
Page 3. Version 1.0, ©2010 by Dale Cotton, all rights reserved.
Secrets 3: Putting it All to Use
The simple approach to doing photography with a computerized camera is to point it at the object you want in the centre of the frame, adjust zoom, then press the shutter release, which invokes both auto-focus and auto-exposure. The enthusiast soon learns that he often needs to focus, half-press the shutter release, then re-compose. A bit later comes the realization that the camera wants to expose the object at the focus point as middle grey, whether it's a black cat or a white car. So now it's focus, re-compose, set exposure comp, shoot. When you've reached that level of sophistication, manual mode begins to make sense again.
Exposure
One undeniable advantage to the P or A setting on the mode dial is that the camera is going to be somewhere in the correct ballpark as soon as you power it on (especially if you have auto-ISO set as well). The closest I can get to that is to remember to return the camera to 400 ISO, 1/250th shutter, and f/8 before turning it off. That seems about as close to a mythical average exposure as I can think of.
Beyond that, like any pro, if I'm using the camera, whenever the light changes, I check and change ISO, shutter, and aperture as needed. However, having a real-time histogram means I don't have to chimp a test shot or three to get things right. Normally, all I need to do is thumb the shutter speed dial until the right end of the histogram just touches the right edge of the graph. This begins to break down when tracking a subject that's continually moving from sun to deep shade; but even then this method is no slower than using Av as a starting point then continually changing exposure comp. as needed. The upside to the M mode approach is that most shots are taken in the same light, so no precious microseconds are wasted while the camera unnecessarily re-calculates exposure.
Aperture priority would be just fine if digital capture had the soft shoulders of neg film instead of the sharp highlights cut-off of slide film. Some day camera companies will wake up to this fact and design multi-metering accordingly. When that happens we'll be able to set a menu option called Preserve highlights to On, set another menu option called Specular sensitivity to +3, set the mode dial to A, turn off the live histogram, and relegate the endless round of chimp-and-twiddle to campfire stories of the bad old days.
Focus
Point the camera at objects at various distances. The AEL/AFL button has become your AF button. Press it once each time you want to re-focus the lens. Notice that the AF cycle completes more quickly at longer focal lengths and in brighter light. Under most conditions I leave aperture set to f/8, which gives me max DOF short of diffraction blur. The half-frame, 4/3 sensor has so much DOF that pin-point focus is unnecessary from wide angle to near-tele. This is your zone-focusing equivalence; when pressed for time you can take picture after picture at f/8 without re-focusing, so long as the subject has not moved dramatically closer or nearer to the camera.
You can also focus manually using the focus ring on the lens, if you have the time between shots. The E-P1/2's focus detect area is fairly large, so if there are objects at significantly different distances in the green focus square, you can check and fine tune by focusing manually. When you move the focus ring the view on the LCD changes to 7x mag for accurate focusing. Tap the shutter release lightly to cancel mag view.
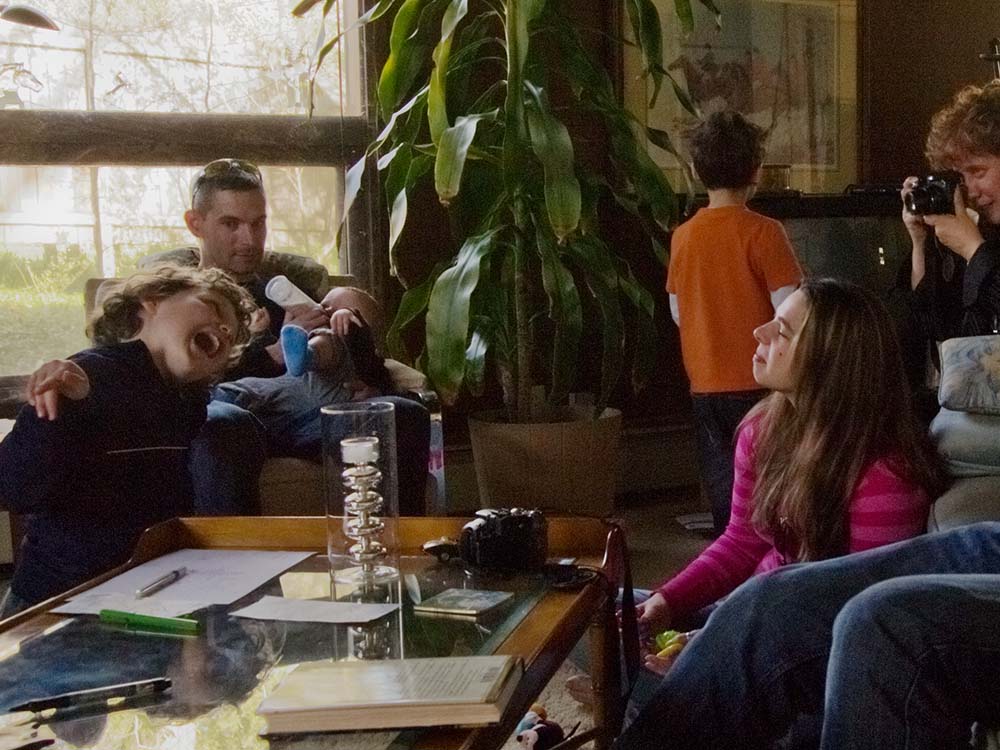
Working indoors
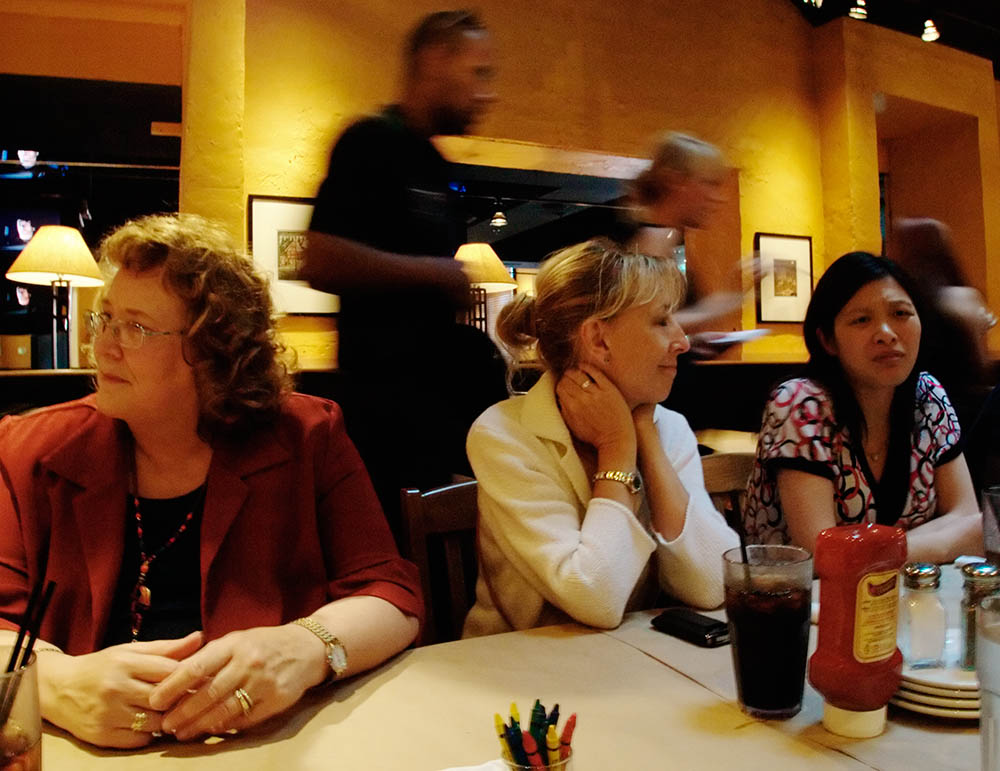
09-0918 (E-P1 + kit zoom, 1600 ISO)
The E-P1/2 taketh away flash but giveth high ISOs. I routinely use ISOs up to 1600 indoors without qualm, and shutter speeds down to 1/10th sec. Of course you'll need faster shutters if you are trying to freeze subject motion in low light, which is where the Panasonic f/1.7 pancake begins to look inviting. For more reach, as in doing concerts, an f/2.8 tele from some other system, mounted via adapter, might get the job done in a pinch, but this is not really playing to the strength of the camera.
Working outdoors

09-0649 (E-P1 + kit zoom, 200 ISO)
One caveat is that the E-P1/2's native ISO is actually 200, not 100. The 100 ISO setting actually reduces dynamic range.
I think you'll be surprised at how much sunshine the back LCD can handle (provided you have it bumped up to max brightness via the menu option). It's not so much the brightness of the day but how directly the LCD is back-lit by the light source that matters. So the LCD can actually fare better midday than in certain sunrise/sunset conditions. But there are times when the E-P2's EVF or a Hoodman is going to save the day. I've neither and so far the only time I've rued that has been around noon at the beach in mid summer.
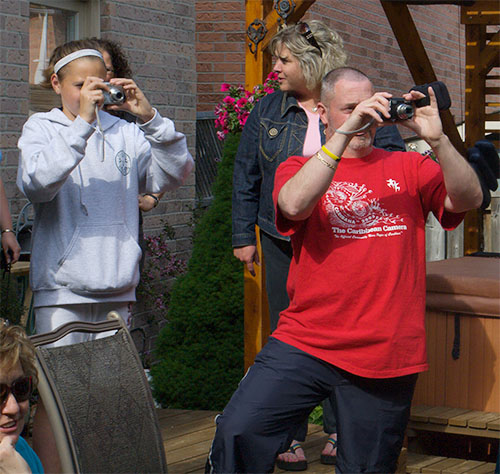
Moving subjects
10-0866 (E-P1 + kit zoom, 800 ISO)
Sequential shooting. One of the menu settings above that may have raised your eyebrows a notch is shutter mode set to sequential instead of single-shot. The camera takes single shots in sequential mode when used normally; but when you hold down the shutter release a fraction of a second longer it switches to rapid fire, continuing to expose frames until you finally release the shutter. Even raw frames get buffered for as many shots as I've ever fired in one burst. The down side is that live view doesn't refresh until the sequence ends. Simply look at your subject instead of the camera for the duration. Maybe Superman could adjust zoom, focus, etc. during a second or two burst; I'm luck just to keep the camera aimed in roughly the right direction if panning is required. (Logic might suggest that continuous AF instead of single AF or MF would be just the ticket for rapid fire. Instead, adding C-AF to sequential just slows the camera down to a crawl. Try it.)
Camo and Candor

In the cross-hairs of an SLR
Amateur brigade
Anyone who has ever done street or candids with a digital p&s will have realized that doing so takes inconspicuousness to a whole new level. Any camera you hold to your eye marks you as a serious shooter and immediately makes people self-conscious. Put a black SLR to your eye and you may as well be aiming a howitzer. In contrast, people assume that anyone who is holding a smallish camera out at arm's length to frame is taking amateur vacation/family snapshots and is therefore either focused on family members or some building or other aspect of the scenery, just as they themselves would be doing in the same circumstances.
And it's not really about deception. Even among friends and family, pulling out an SLR is just a reminder to them to stiffen up and pose (or even groan), destroying the very intimacy and spontaneity you intended to capture. Whether in public or at home the single most important tool you can have is that your entire presence – including manner, outfit, and equipment – all generate the same message of relaxed casualness and unselfconscious assurance.
Practice
I wish I could credit the source but here's a wonderful quip: the amateur practices until he gets it right; the pro practices until he can't get it wrong. The all-semi-manual approach may well seem awkward and irritating the first few minutes or even the first few days. But I maintain that, and as counter-intuitive as it may seem, it's still the optimum way to use the E-P1/2 for anything resembling street and candids photography. So practice daily and stick with it until it becomes second nature.