Eradicating Blown Highlights in Photoshop
Page 2, version 1.0, © 2008 by Dale Cotton, all rights reserved.
Example 2 &ndash skin and clothing
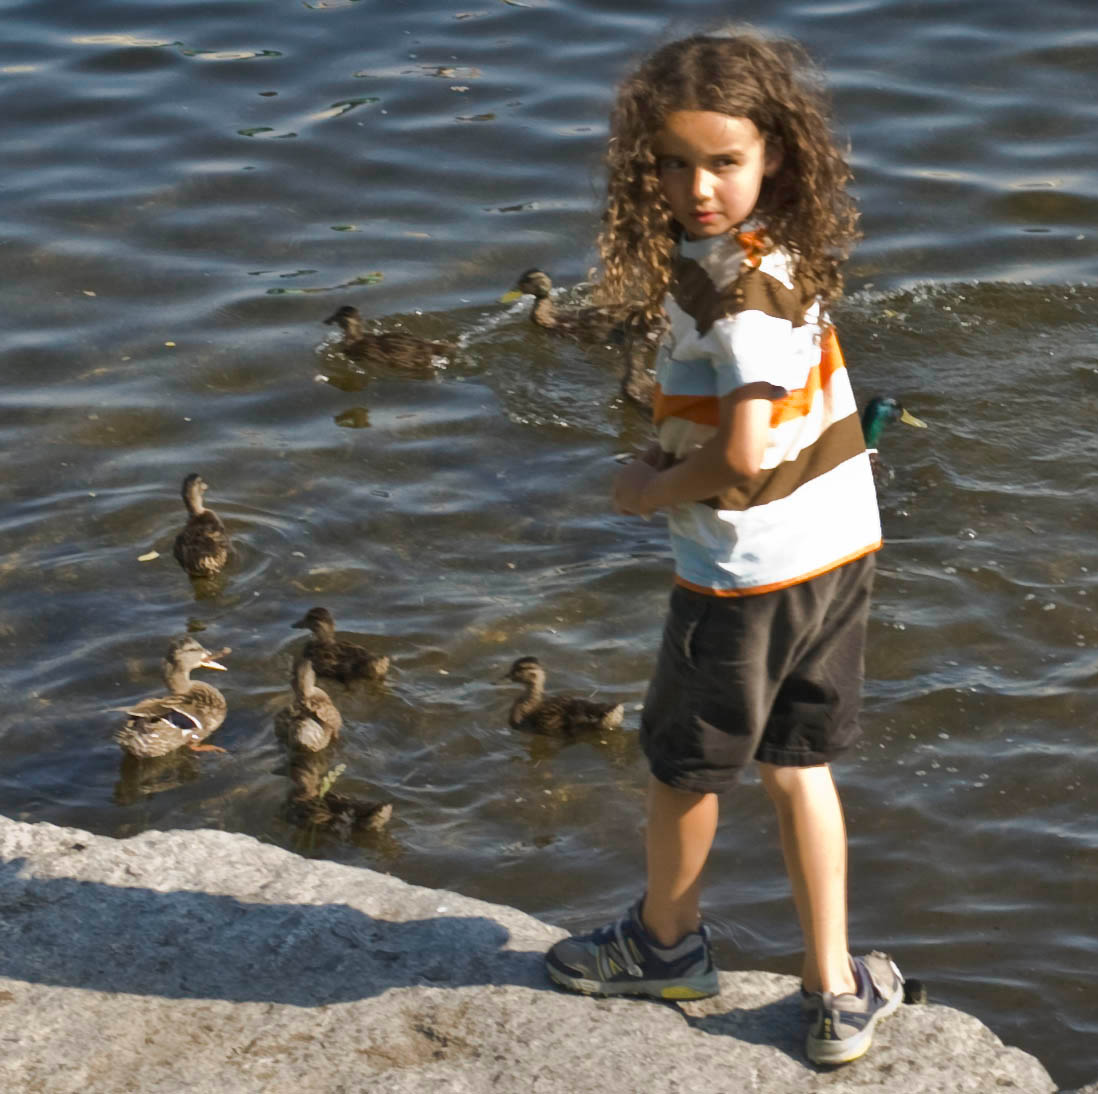
Fig. 9: Blown highlights in skin and clothing (click for full scale version)
Fig. 9 – a small crop from a larger image – is another example of blown highlights. We not only have to deal with the white areas but the posterization that's especially obvious in the left arm and right leg.
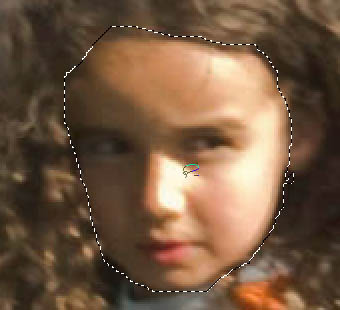
Fig. 10: Select face area
1. Lasso the girl's face; no great care for accuracy needed.
2. Press the letter I to bring up the eyedropper, then grab her skin colour from some area of medium tone.
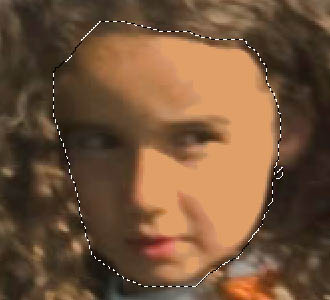
Fig. 11: After paint bucket
3. Press G to switch to the paint bucket tool (press Shift+G if the Gradient tool comes up instead). Set the Tolerance to 100. Click on a blown spot in her cheek or nose.
4. Press Ctrl+Shift+F (I believe that's Option+Shift+F on the Mac) to bring up the Fade dialogue, then fade to about 50%. Look for the percent at which there is minimal demarcation between the new colour area and the original while still eliminating the blown highlights.
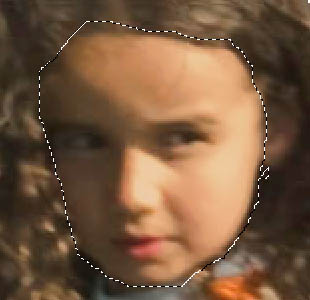
Fig. 12: After cloning
5. Use the rubber stamp tool at low opacity to remove any demarcation between old and new colour and to blend between highlight and shadows.
If you want even less glare on the skin, simply repeat from step 2. I suggest you also do the right leg and left elbow for further practice. Use the rubber stamp liberally to smooth out the posterized transition between shadow and mid-tone.
The girl's shirt can be handled with exactly the same techniques. Select the entire shirt. Choose a neutral light grey colour from within the shirt area, then use the paint bucket at 100% to fill in the blown highlights, then fade almost to about 10%.
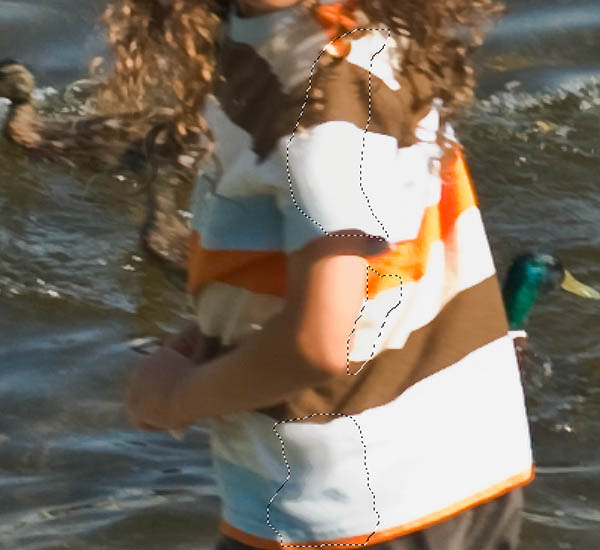
Fig. 13: Selecting part of shirt to create a transition
To improve the shadow/highlight transition, select a swath covering that area, then fill using the paint bucket with a middle grey eyedropped from the shirt, then fade to some intermediate value. Use the rubber stamp to blend in.
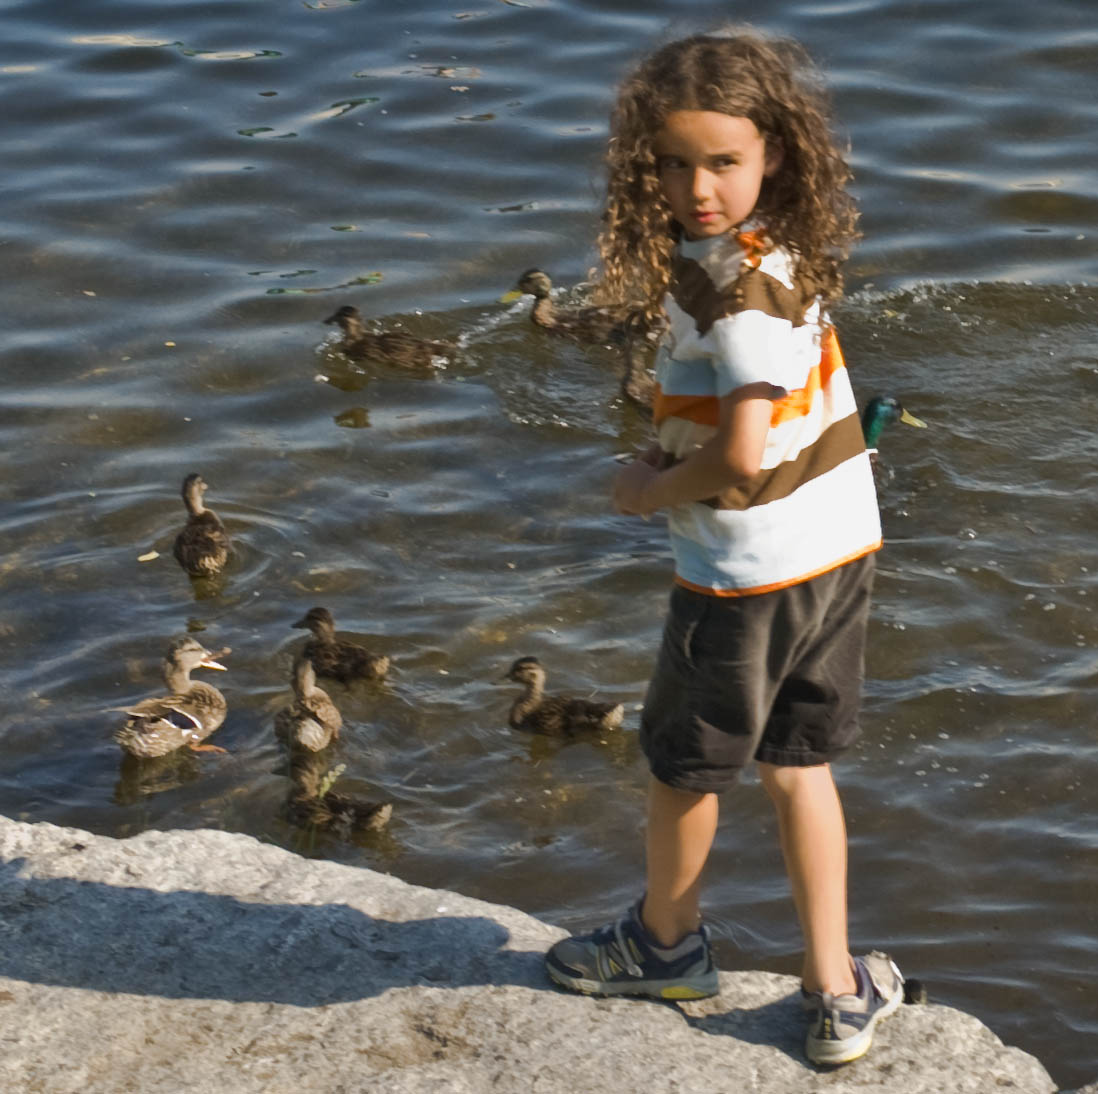
Fig. 14: Final edit
Click on Fig. 14 to see my own results from following the above steps.