Digital Editing 102: Making it Sing
Project 1: easy does it
page 2, version 1.3, © 2009 by Dale Cotton, all rights reserved.
A. Raw conversion and global changes
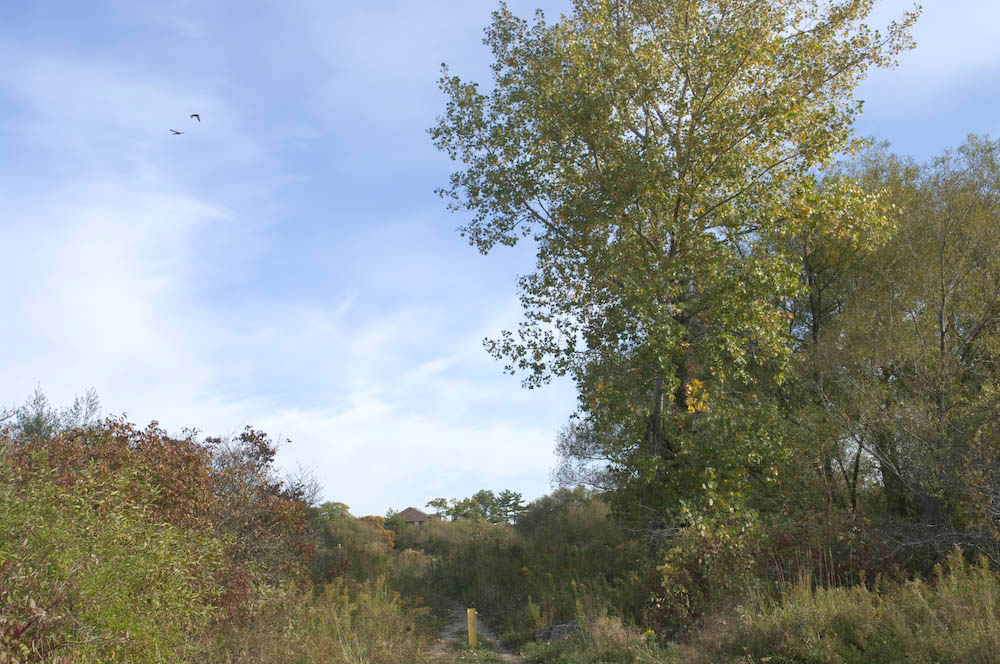
Fig. 2. Duffins Creek Marsh 5034, unedited raw
I chose this image file to work with because it has a usable composition and subject matter that reminds me of a "typical" John Constable English landscape, right down to the dominant gracefully curved tree with curlicue leave and the pair of birds floating in the sky. The yellow pipe roadblock and contemporary shingled roof in the distance add a bit of wry commentary on all that's changed since Constable's time, but not enough so to turn the image into mere parody, at least in my mind.
There is an entire school of photographic thought that utterly condemns any tampering with an image as shot by the camera. It's problematic what this approach means in practice when shooting black & white negs. It made superficial sense when shooting slide film ... but even then to take this approach means ignoring the vast differences in pallets between Velvia, Provia, Kodachrome, etc., not to mention the use of lens filters ranging from polarizing to neutral density, to warming. Now with digital capture the concept of a "straight" capture from a camera is purely and totally meaningless. Each camera either imposes a contrast curve, level of colour saturation, degree of highlight and shadow clipping, colour pallet, and white balance interpretation on the scene – or it offers menu choices by which the user can customize those responses.
Fig. 2 is a "straight" capture, since it was shot in raw then post-processed with a linear tone curve and colour-corrected by a very accurate camera profile. So of course that means Fig. 2 looks exactly like the scene looked to my eye at the time, correct? Well, no: even ignoring the lack of dimensions 3 and 4, the human visual cortex automatically performs a vast array of image processing tweaks behind the scenes: the influence or colour cast of the light source (blue sky) is neutralized, shadows are opened, highlights compressed, and edges sharpened. Strangely, just the sort of thing a good darkroom or digital post-processing expert would do as a matter of course. Here's what the scene actually looked like to my eye:
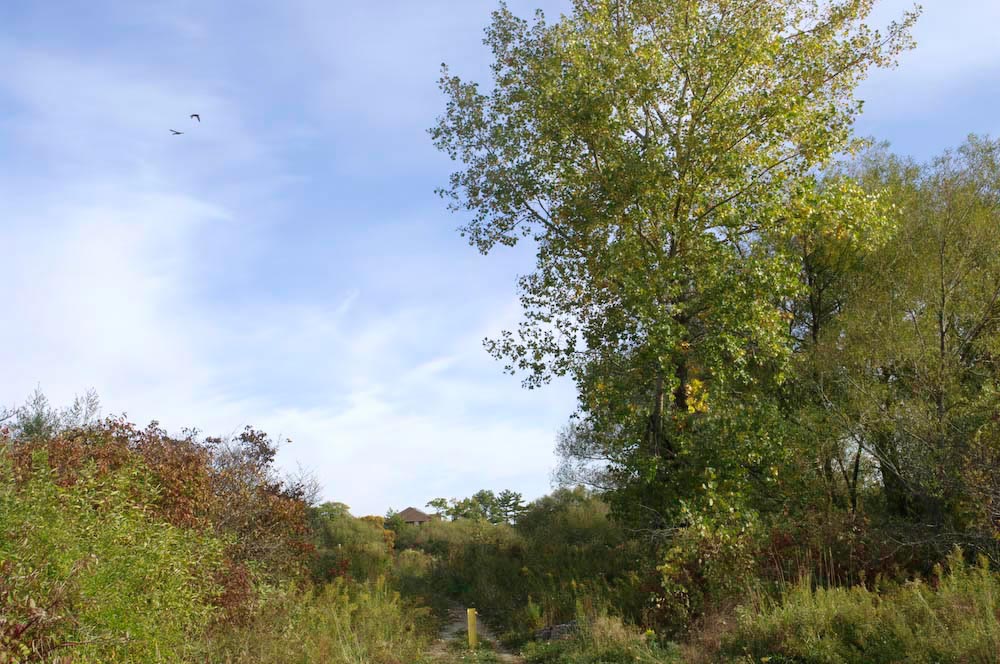
Fig. 3. Duffins Creek Marsh 5034: human visual response simulation
I used Lightroom version 3 beta to develop this tutorial but will pretty much stick to features that are common to other raw converters. The version 3 beta is a free download, so if you don't already have a favourite converter installed, you can install it, then follow along by clicking on Fig. 2, then saving the larger JPEG.
Warning: LR3 is an extremely seductive tool. Continued use may be harmful to your bank balance.
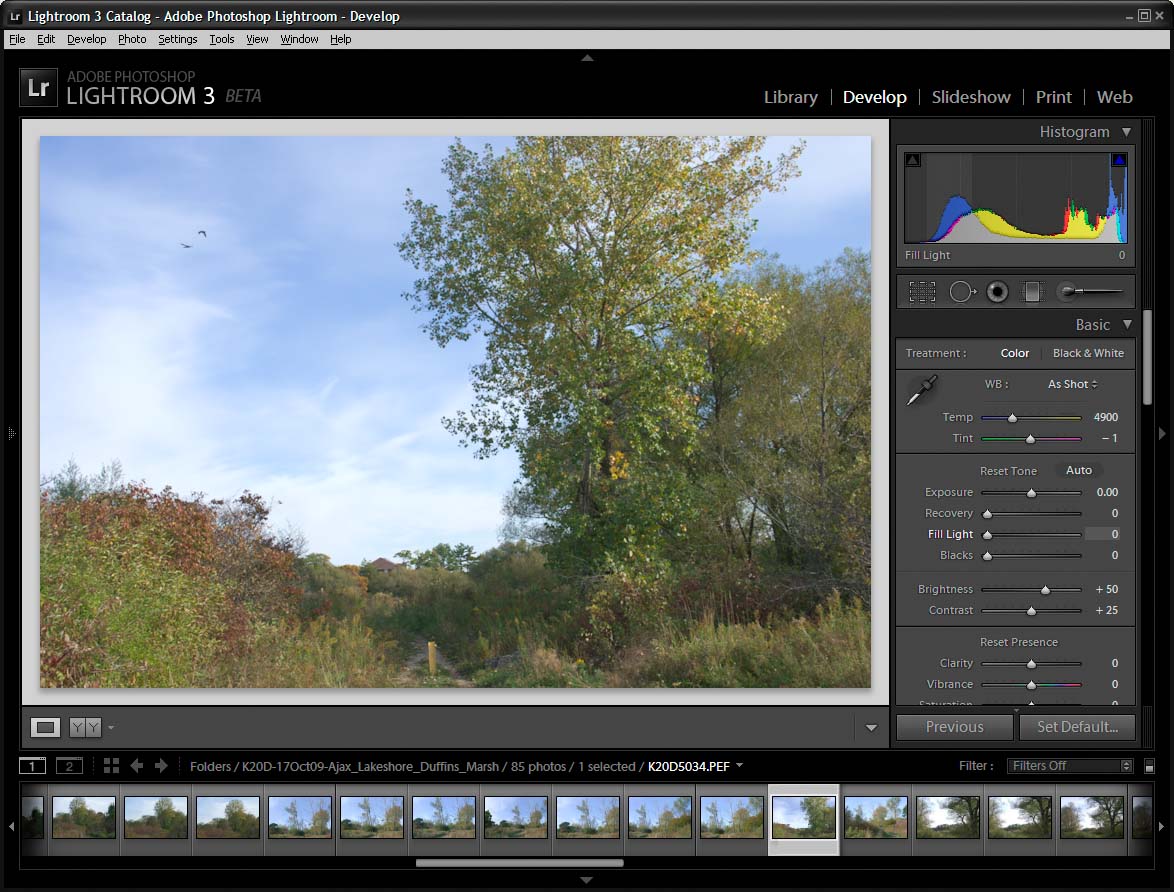
Fig. 3: Lightroom 3 beta
1. Open in your raw converter, examine for unrecoverable issues like mis-focus and blown exposure.
2. Change Temperature from 4900K to 5333K. Not only is warmer light more attractive, your visual cortex automatically neutralizes colour casts such as the bluish tint introduced by the blue sky in this shot, so this change brings the image more in line with what I saw when I took the picture.
3. Change exposure by 0.19 stop (to remove slight blue channel clipping)
4. Set black point to 5. Again: this matches what your visual cortext would have done when viewing the scene.
5. Increase Brightness from 50 to 64. This corrects for the darkening caused by black point.
6. If contrast were too flat I would have fiddled with Tone Curve sliders.
7. Examine image at 100% or 200% magnification: noise level looks fine. We will sharpen in PS, so we'll leave Sharpening at zero.
8. Correct for very slight CA using the provided slider.
9. No other global changes, so export to Photoshop.
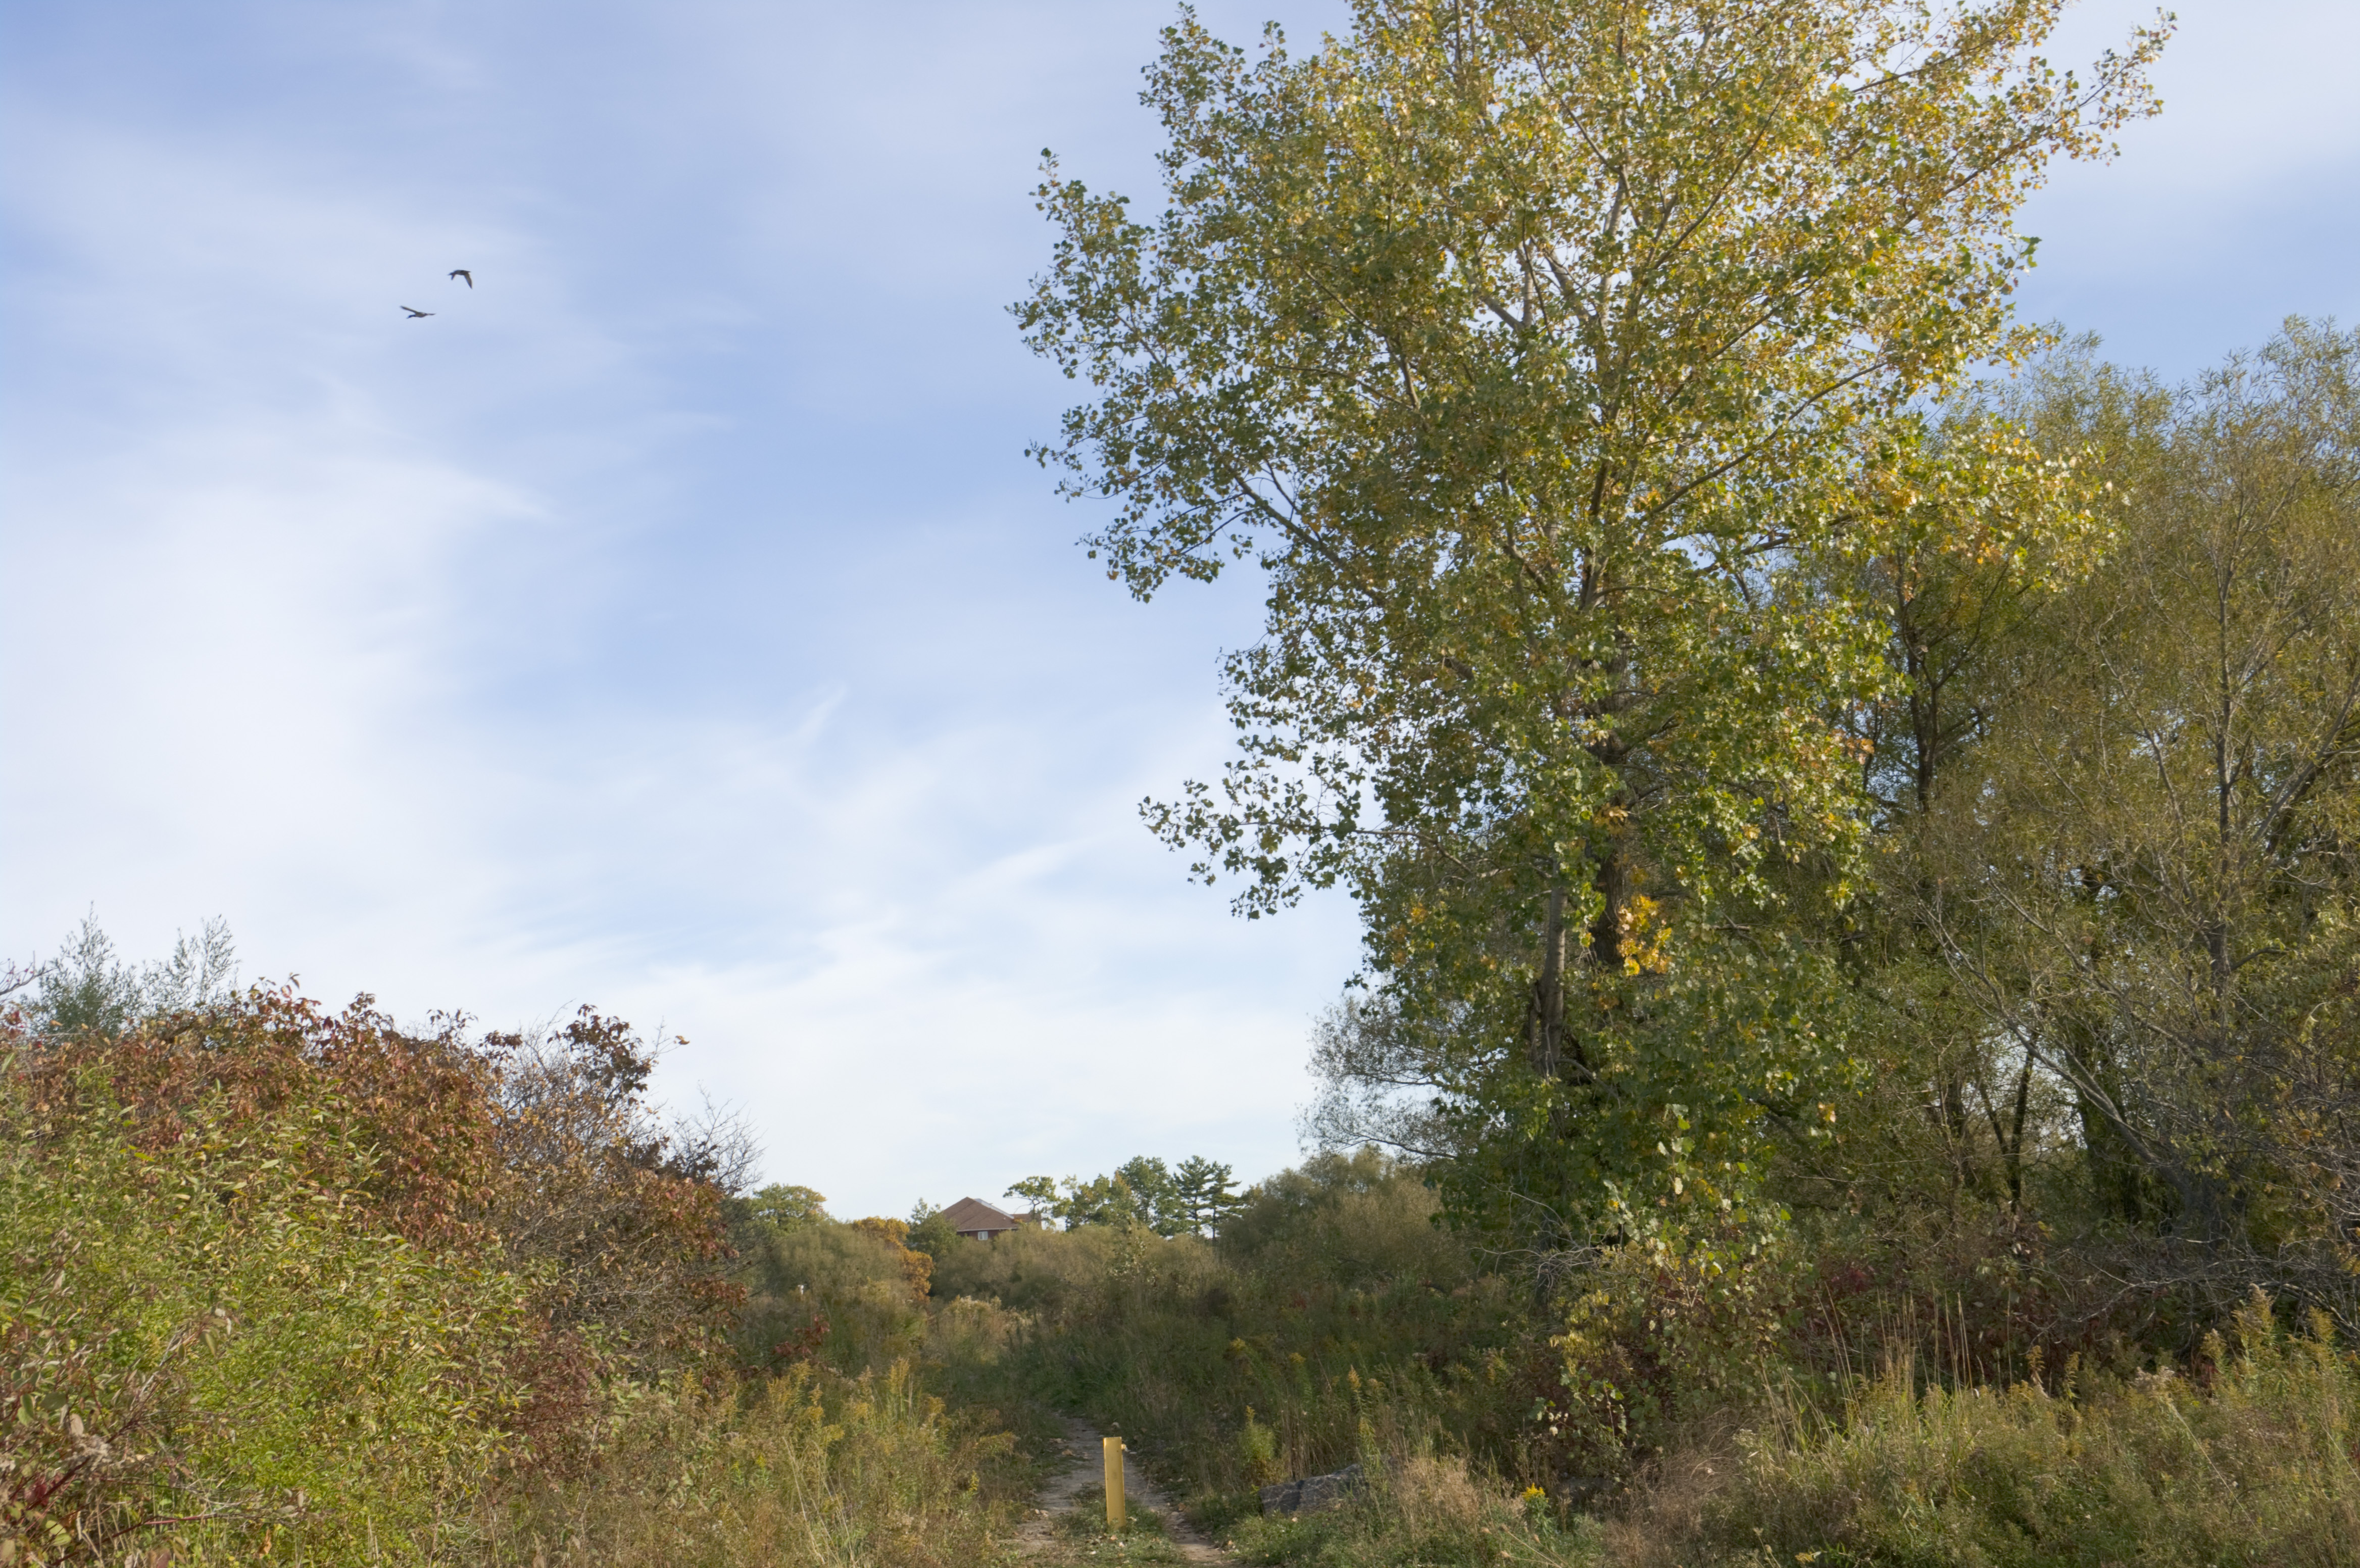
Fig. 4: final output from Lightroom