Matting and Framing Crash Course
Page 1, Version 5.2, ©2002-2005 by Dale Cotton, all rights reserved.
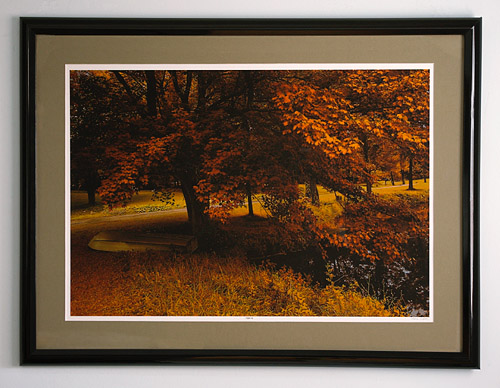
Fig. 1: Framed print
Introduction
This is a do-it-yourself tutorial that illustrates one approach to matting and framing artwork (in my case inkjet photo prints). The approach here-in is one I've worked out for myself after some reading, some e-mail correspondence with others, and much trial-and-error. This approach is suitable for low volume situations. If you make your living from your prints and do hundreds per year, see Matting: The Why & How of Matting Photographs, A Tutorial by Alain Briot for more automated solutions.
My do-it-yourself approach may be less expensive, particularly done in quantity, but I strongly urge you to price all materials first, rather than blindly jumping in. The one-time tools cost me about $75(Cdn), consumables for each framing run me about $35(Cdn). In comparison the local shops want roughly $100(Cdn) to do one print in an inexpensive aluminum frame.
Warning! I would never consider doing my own framing of an irreplaceable piece of art. (I would not even trust a local framing shop, at least without a recommendation from the local museum.) As you get involved in framing and matting you may find yourself bumping into a certain word: archival. A responsible framer knows which techniques and materials are needed to preserve a work of art for generations. The technique described in this document is tailored to mass-reproducible prints, such as inkjet prints.
That said, if you are at all concerned about longevity, use acid-free (pH neutral) materials and do nothing to the art object that cannot be undone, such as permanently gluing it to its backmat or applying scotch tape to the corners of the print itself.
At this point, my reason for continuing with do-it-yourself framing is no longer primarily economic. Having gotten over my beginner's difficulties and since I do enjoy working with my hands, I now find framing quite satisfying, adding another enjoyable aspect to photography as a hobby for me.