Matting and Framing Crash Course
Page 3, Version 5.2, ©2002-2005 by Dale Cotton, all rights reserved.
Backboard
After printing with my Epson inkjet I let the print dry a full day or more then if it's a matte print I spray it with a clear lacquer and let dry another day. Then I back it with either of two materials cut to the same size as the frame: (a) foam board made specifically for backing called foamcore, or (b) regular mat board. Use as thick a board as you can afford and as will fit inside your frame along with the mat and the glass. If you use mat board for backing, save money by buying the least-expensive finish, since the backboard will not be seen. Remember to purchase an acid-free material if longevity is an issue.
Poster board is much less expensive but is just too flimsy, causing the print to sag and/or ripple inside the frame. A rigid backboard is absolutely essential for acceptable results. Corrugated boxboard is sometimes used, but I doubt whether it is archival.
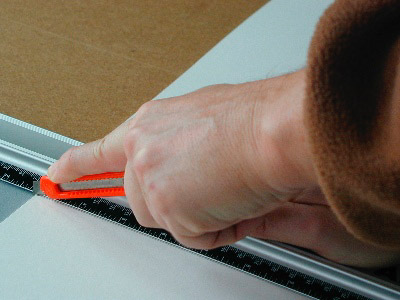
Fig. 3: Cutting the backboard
First I cut my backboard to match my frame size, 18" x 24". I do this with a ruler, pencil, and razor knife. If you are using foamcore, the trick to a clean cut is to use an extremely sharp blade and make several passes, going deeper each pass.
Later I will attach the print to the backboard using mounting corners, but for now we can just set the backboard aside.

Fig 4. Print centered on backboard