Digital Editing 102: Making it Sing
Project 3: tone sculpting
page 7, version 1.2, © 2009 by Dale Cotton, all rights reserved.
A. Raw conversion and global changes
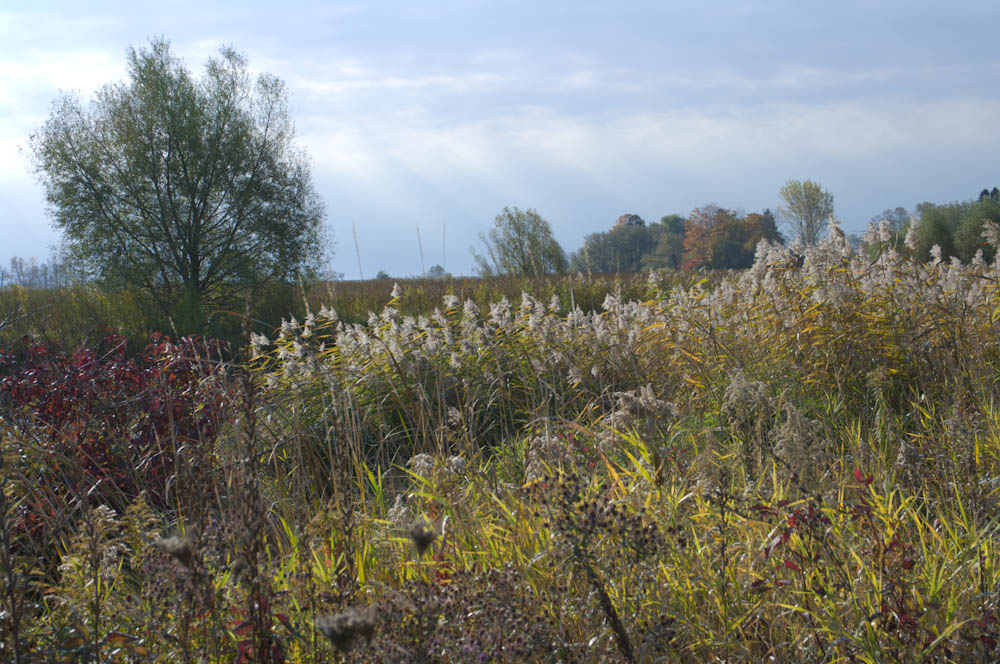
Fig. 1: Duffins Creek Marsh 5120, unedited raw
I chose the image in Fig. 1 for this third project because it has a usable composition together with a riot of colours and textures that to me suggests a cornucopia-like sense of the amazing Rococo richness of nature à la temperate zone wetlands. Careful editing will be needed to maintain these positives while avoiding the scene disintegrating into chaotic busy-ness.
In this case the original capture is fatally flawed by too much out-of-DOF blurred foliage in the immediate foreground. This isn't apparent at web image sizes; the problem only surfaces when we print. So we'll use a half-size down-sample of the original and proceed with this as strictly a learning experience.
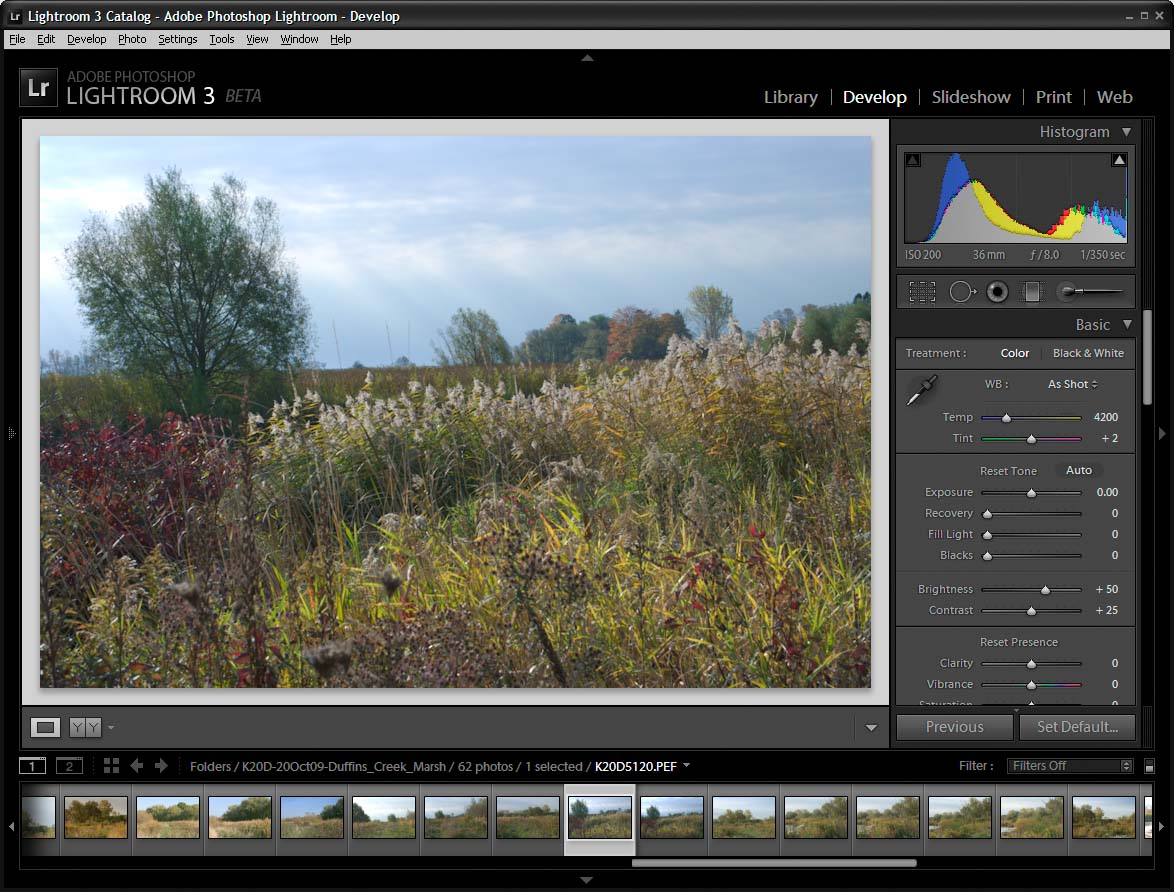
Fig. 2: Lightroom 3 beta>
As in the previous projects, I used Lightroom version 3 beta to convert but again will pretty much stick to features that are common to other raw converters.
1. Open in your raw converter, examine for unrecoverable issues like mis-focus and blown exposure.
2. Change Temperature from 4200K to approx. 4738K to correct for bluish light.
3. Change exposure by -1 stop. Correct for expose-to-right and pull highlights in clouds down from pure white, (No need to use the recover highlights slider in this case.)
4. Set black point to 4 to remove waste space on left of histogram.
5. Increase Brightness from 50 to 96. This corrects for the -1 stop exposure change.
6. Change Darks slider in tone curve to -5 and Lights to +12 .This is as much contrast as I want to apply globally.
7. Change Highlights slider in tone curve to -14. To further reduce glare of sky.
8. Examine image at 100% or 200% magnification: noise level looks fine; there's no CA; so no need to fix either of those. We can sharpen a bit here or in Photoshop.
9. No other global changes, so export to Photoshop as 16-bit TIFF or PSD.
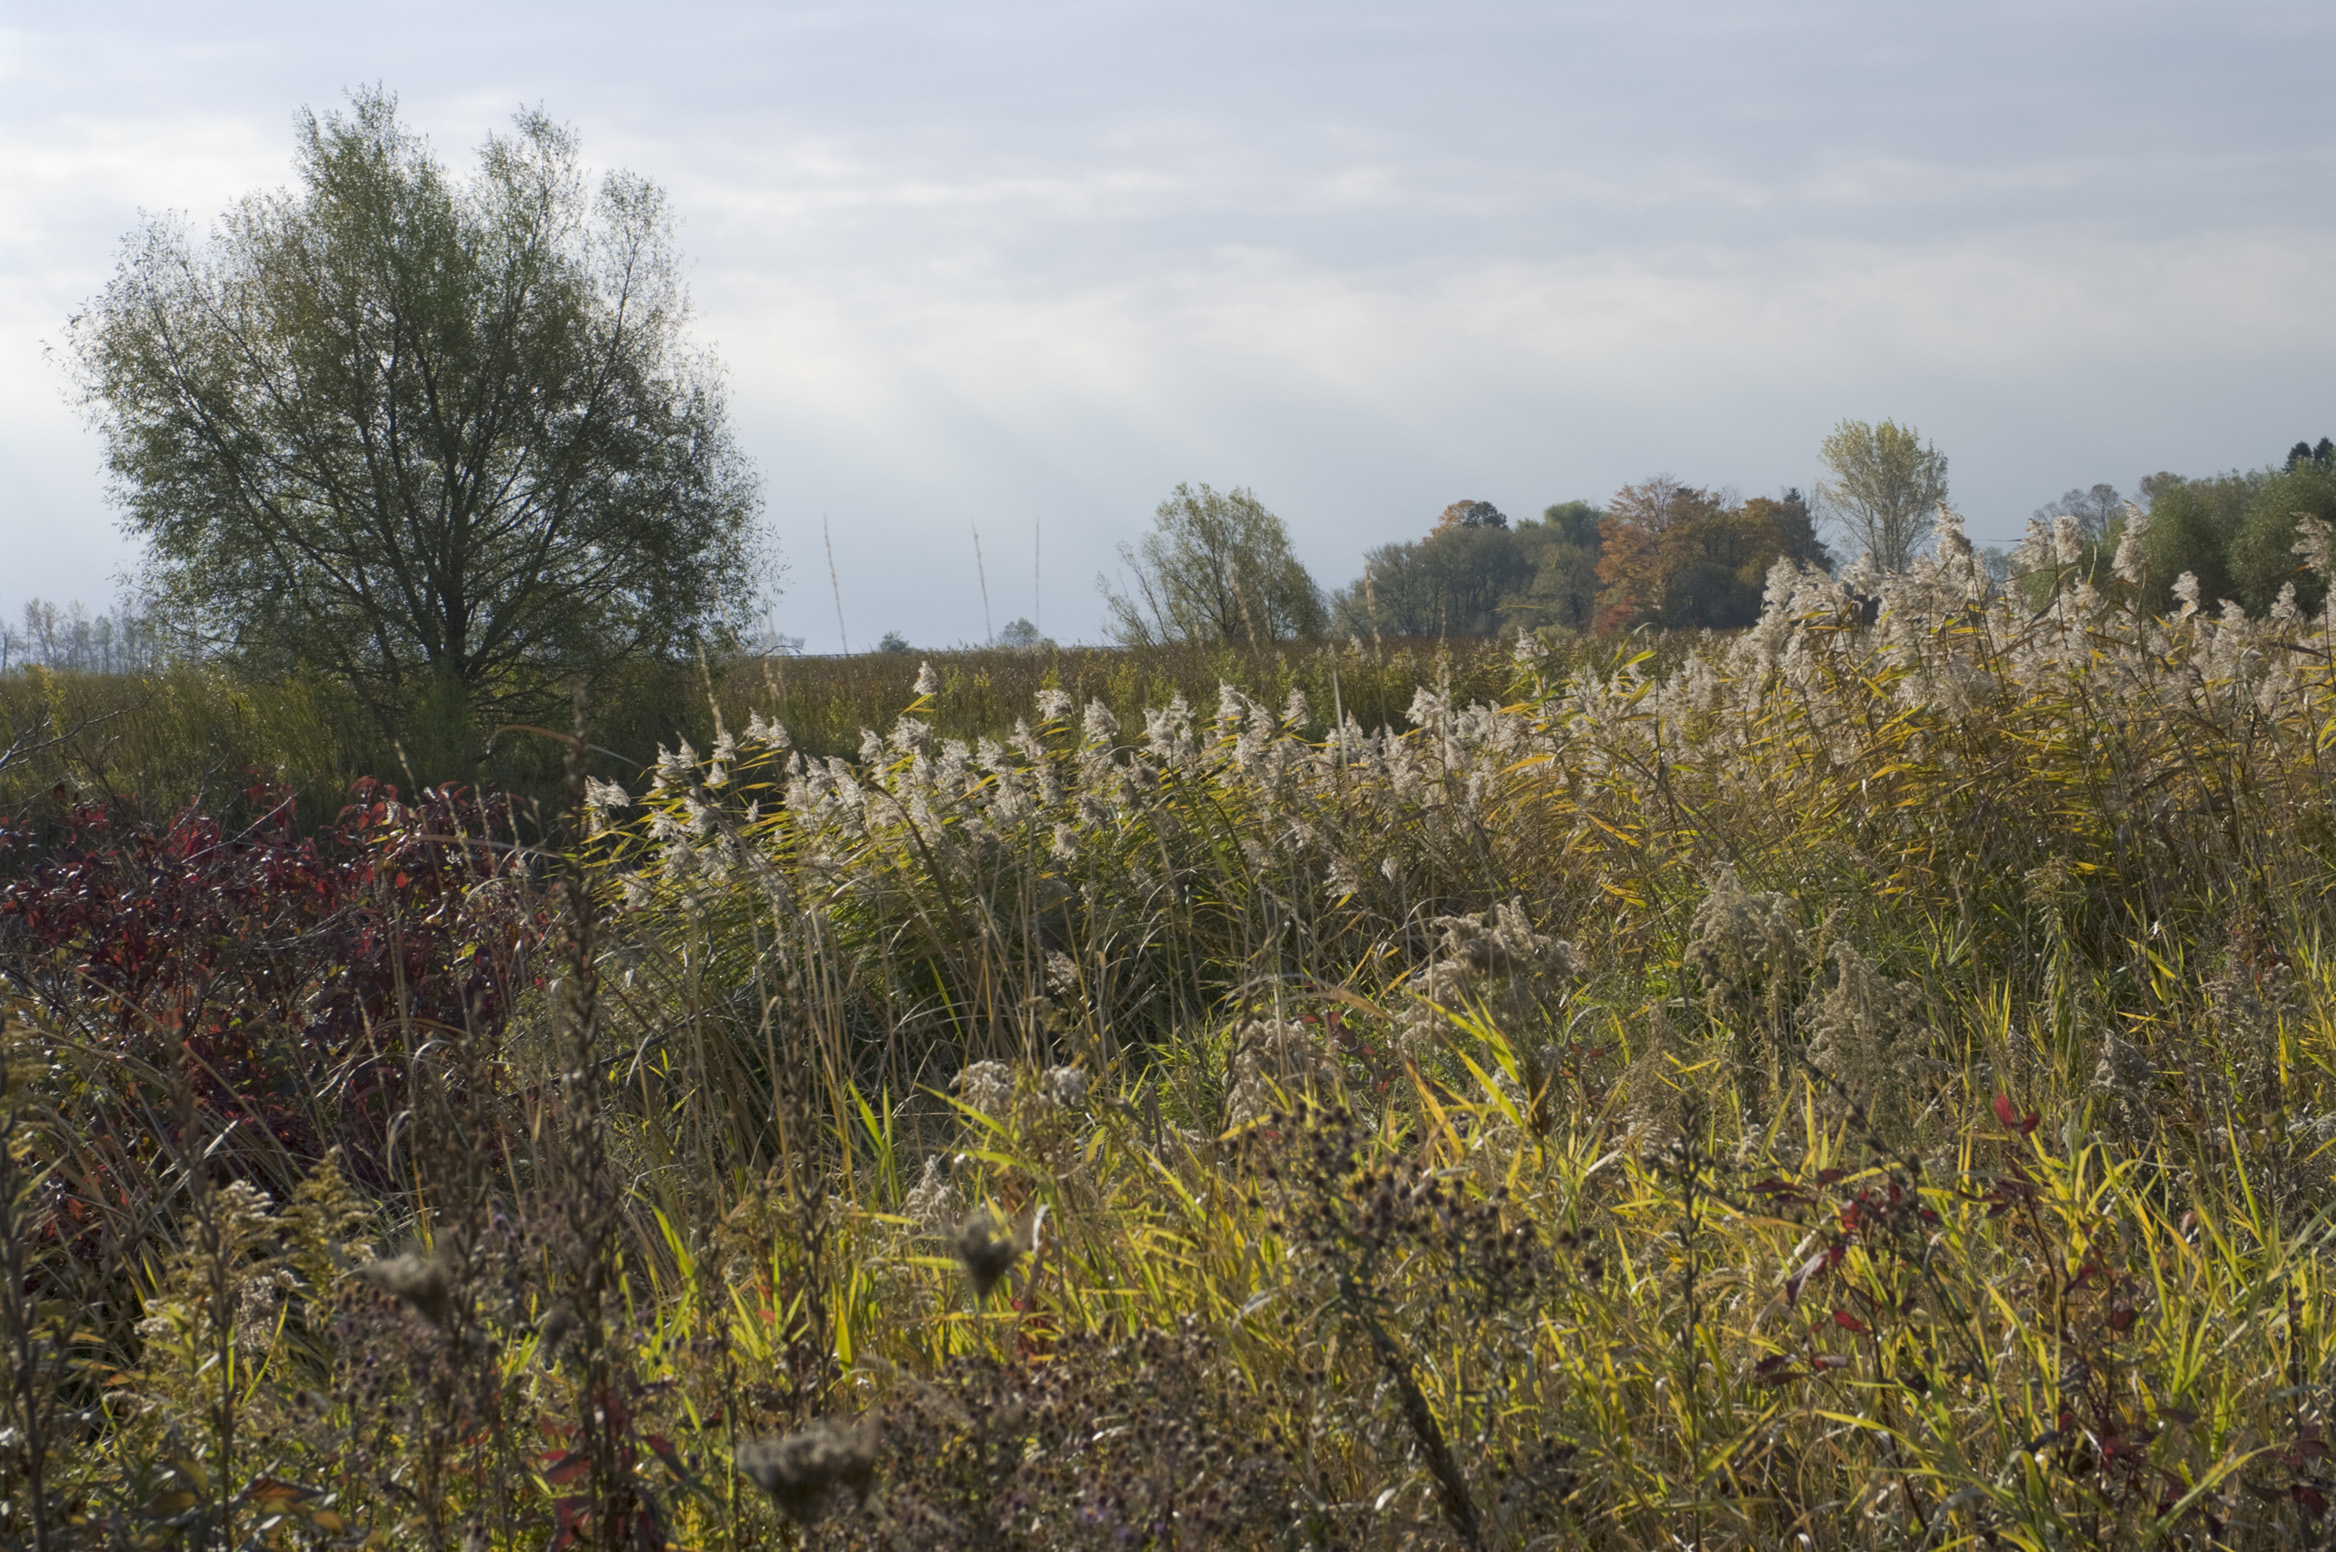
Fig. 3: final output from Lightroom
B. Local changes 1: pallet
First step, adjust pallet to create a set of hues that work well together:
1. Click on Fig. 3; save the half-size JPEG to your hard drive; open that in Photoshop or similar image editor.
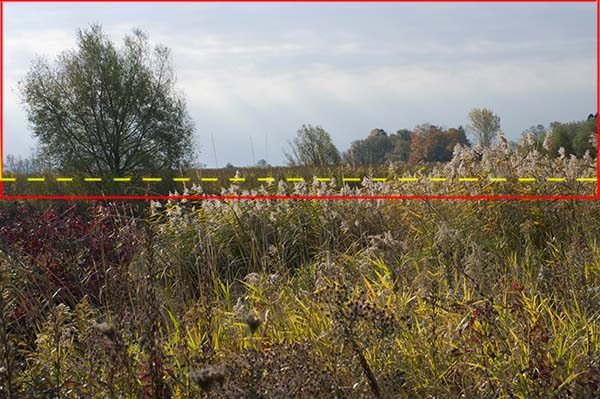
Fig. 4: Sky selection
2. Create a rectangular selection that just covers all sky like an ND filter would (red rectangle in Fig. 4); feather 99; reselect all but bottom (down to dotted yellow line in Fig. 4) to get leave only the bottom feathering.
3. Open Replace Color; click on cloud greys until all sky is selected; desaturate about -50 so sky is less blue-grey.
4. Save your sky selection in case it's needed later, then cancel it, so entire image is available.
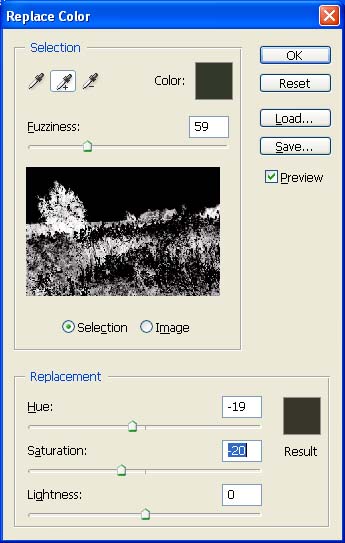
Fig. 5: Replace Color dialogue with dark greens selected
5. Open Replace Color; click on pure greens in main tree; adjust Fuzziness to include most such greens; shift hue left to add magenta, creating an olive green.
6. Repeat for light greens: making them less saturated and slightly warmer.
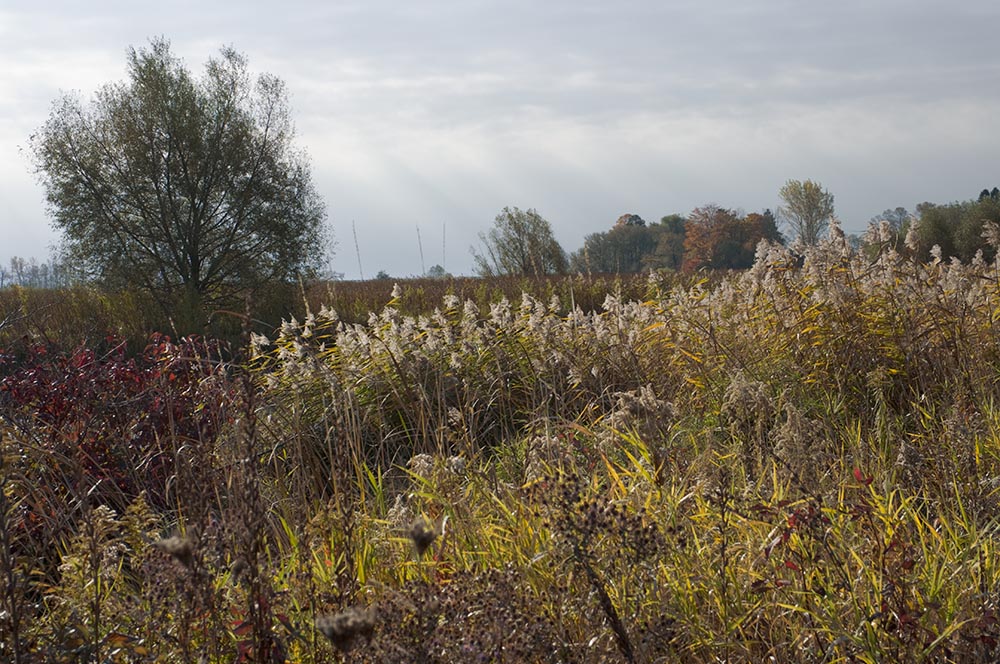
Fig. 6: Pallet change results